Home Chemistry Questions and Answers

MECH2400 5400 Mechanical Design 1 Engineering Drawing Quiz

Course
Health Care

Subject
Chemistry

Category
Questions and Answers

Pages
8

Uploaded By
ATIPROS

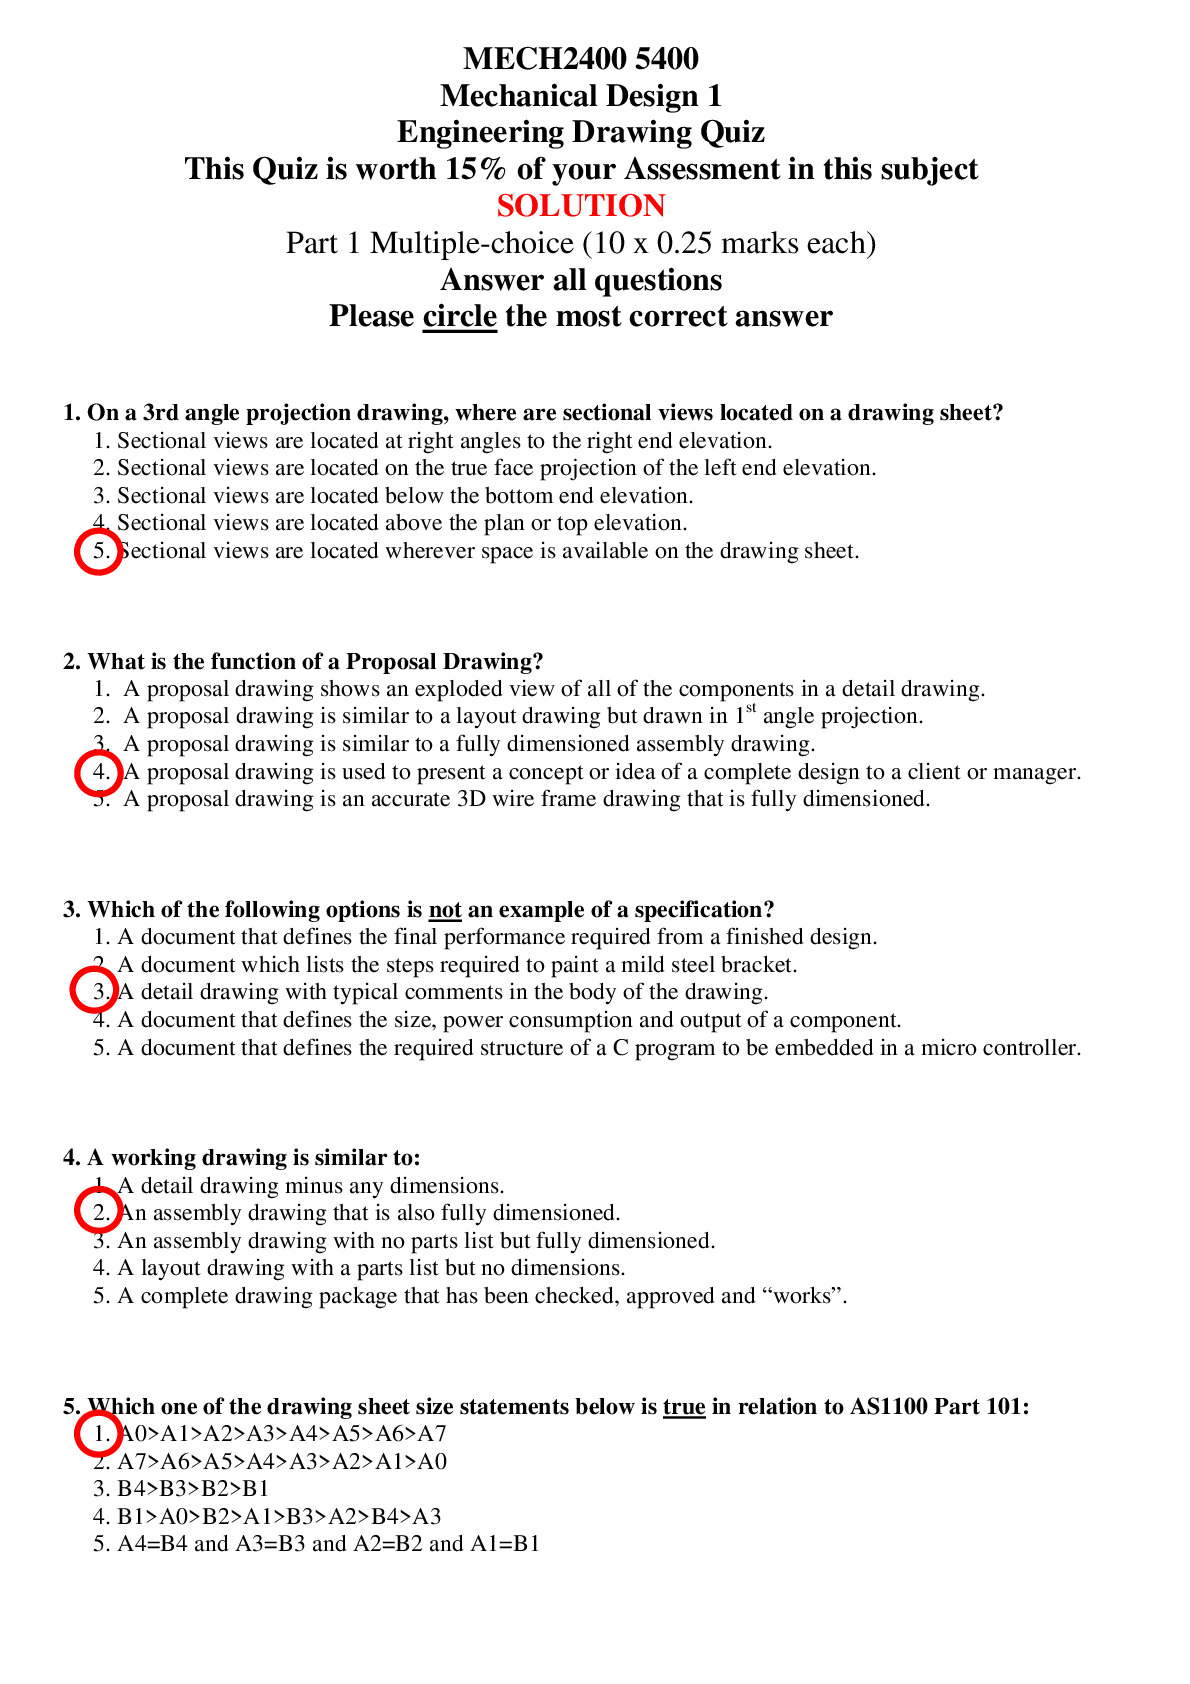
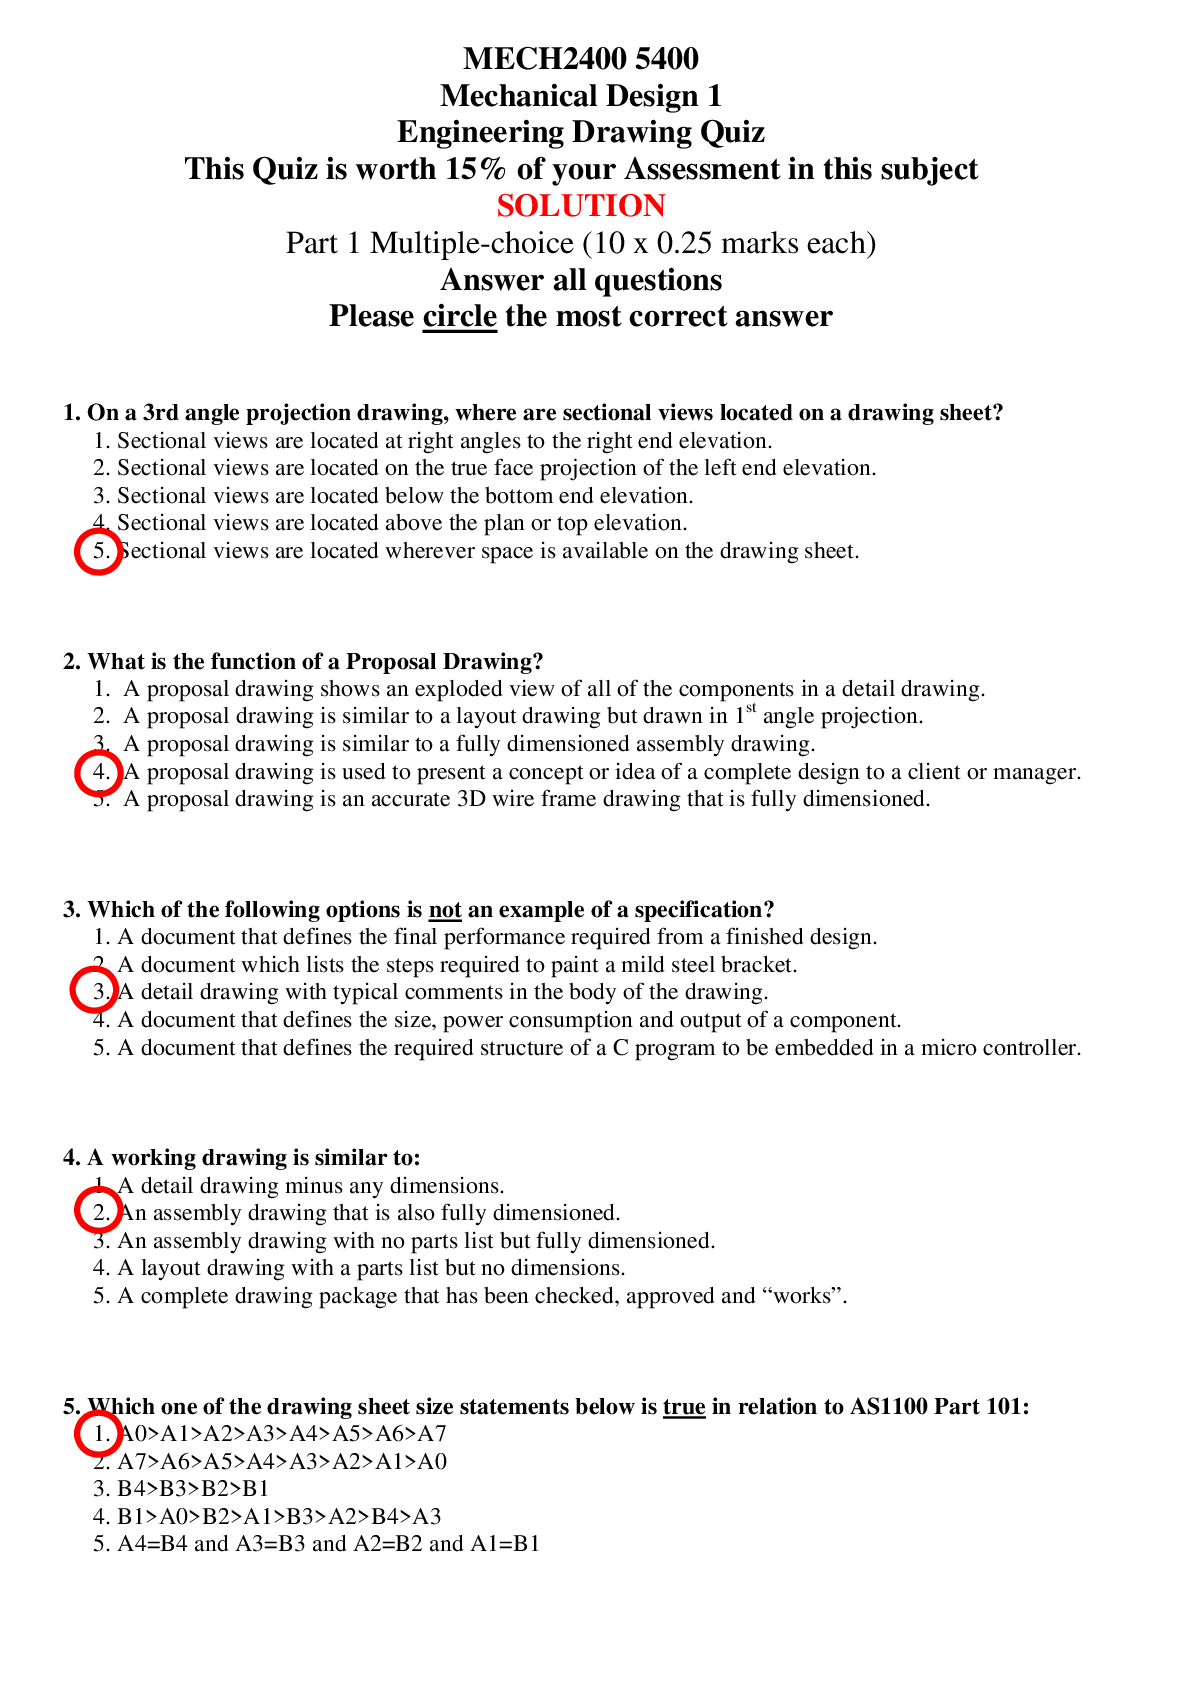
MECH2400 5400 Mechanical Design 1 Engineering Drawing Quiz This Quiz is worth 15% of your Assessment in this subject SOLUTION Part 1 Multiple-choice (10 x 0.25 marks each) Answer all questions Please circle the most correct answer 1. On a 3rd angle projection drawing, where are sectional views located on a drawing sheet? 1. Sectional views are located at right angles to the right end elevation. 2. Sectional views are located on the true face projection of the left end elevation. 3. Sectional views are located below the bottom end elevation. 4. Sectional views are located above the plan or top elevation. 5. Sectional views are located wherever space is available on the drawing sheet. 2. What is the function of a Proposal Drawing? 1. A proposal drawing shows an exploded view of all of the components in a detail drawing. 2. A proposal drawing is similar to a layout drawing but drawn in 1st angle projection. 3. A proposal drawing is similar to a fully dimensioned assembly drawing. 4. A proposal drawing is used to present a concept or idea of a complete design to a client or manager. 5. A proposal drawing is an accurate 3D wire frame drawing that is fully dimensioned. 3. Which of the following options is not an example of a specification? 1. A document that defines the final performance required from a finished design. 2. A document which lists the steps required to paint a mild steel bracket. 3. A detail drawing with typical comments in the body of the drawing. 4. A document that defines the size, power consumption and output of a component. 5. A document that defines the required structure of a C program to be embedded in a micro controller. 4. A working drawing is similar to: 1. A detail drawing minus any dimensions. 2. An assembly drawing that is also fully dimensioned. 3. An assembly drawing with no parts list but fully dimensioned. 4. A layout drawing with a parts list but no dimensions. 5. A complete drawing package that has been checked, approved and “works”. 5. Which one of the drawing sheet size statements below is true in relation to AS1100 Part 101: 1. A0>A1>A2>A3>A4>A5>A6>A7 2. A7>A6>A5>A4>A3>A2>A1>A0 3. B4>B3>B2>B1 4. B1>A0>B2>A1>B3>A2>B4>A3 5. A4=B4 and A3=B3 and A2=B2 and A1=B1 6. Which of the following pieces of information should not appear on an assembly drawing parts list? 1. The drafter’s initials. 2. The quantity of each item. 3. The item number referenced in a balloon and located in the drawing. 4. The part or specification number of each item. 5. The material that each item is manufactured from. 7. Which of the statements below is true in regards to working drawings? 1. Working drawings do not show the quantity of components within the parts list. 2. Working drawings are an efficient way of defining a simple assembly to a sole manufacturer. 3. Working drawings do not contain extensive dimensioning and tolerancing. 4. Working drawings only show isometric assemblies. 5. Working drawings do not show standard hardware such as nuts and bolts.
Read More

Preview 2 out of 8 Pages

MECH2400_5400_Engineering_Drawing_Quiz_1_2014_Solution_24082014.pdf prev1730985958672cbfe6350d4.png

Download all 8 pages for $ 9.50

Reviews (0)

$ 9.50


Seller

Joined: 7 months ago

Document sold: 0

Reviews received
1
0
0
0
0

Send Message
Document Information
Buy Document

$9.50